
Share This Post:
Setup Callcentric VOIP Account
Callcentric is a popular VoIP service used by many Voicent customers. It has been tested with Voicent software and it is known to work for both inbound and outbound applications.
Step 1: Register a CallCentric VoIP Account
First, click the link to sign up for a CallCentric VoIP account.
Step 2: Obtain your SIP ID
Login to your CallCentric account to get information for Voicent SIP configuration. Once you login, you should see a box on the top left corner of your dashboard that states your CallCentric #. This is your SIP ID. The image below shows where to find this box.

Step 3: Setup Your SIP with Voicent App
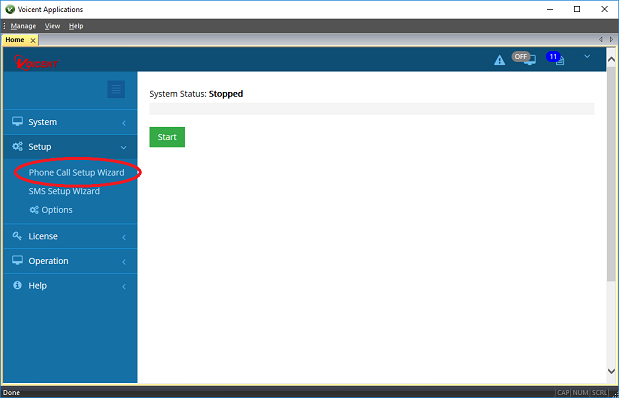
The easiest way to set up is use the Phone setup wizard. To get to the wizard, open Voicent App, then select Setup > Phone Call Setup Wizard.
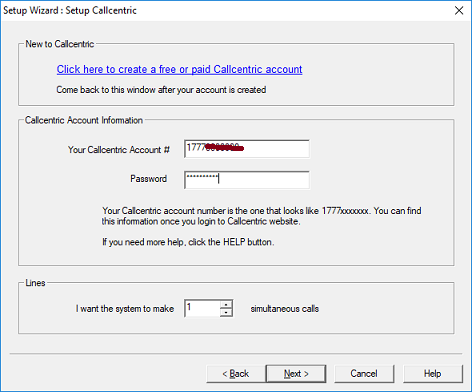
Click Next, Select “A VOIP Service”, click Next, Select “Use Call Centric”, you will see the following wizard page, enter your callcentric account info, click Next.
Finish the wizard and Voicent App will automatically restart. Once it is started, you should be able to make phone calls using CallCentric. If you need to manually enter CallCentric info, please see the last section of this article.
Step 4: Setup CallCentric Credit:
Login to your CallCentric account again to setup your calling plan. You can choose either Pay-per-call or a monthly plan. You must purchase outbound call credit and signup for a rate plan in order to call landlines or cell phones. Please note; CallCentric’s IP Freedom plan does not allow you to make calls to a landline or cell phone.
From your CallCentric Dashboard, press Make Calls located in the navigation bar at the top.

Now you can purchase your plan.

Step 5: Make an Outbound Call
From Voicent App, click Voicent CRM button. It will open a browser window. This first time you login in, it will try to make a test call/campaign. Just follow the on screen instructions.
You can also click the Auto Dialer button to test automated calls. For help video, please see How to start an auto dialer campaign.
Step 6: Receive Calls
If you want to use Voicent for inbound calls, you will need to purchase a DID number. This number allows you to call your CallCentric account using a regular phone. Setup a Voicent application, like FlexPBX or an IVR application on Voicent Gateway, call your DID number, Voicent gateway should automatically answer the call, and interact with it using the application you specified.
How to setup a business phone system
Manually Setup CallCentric
You can skip this section if Callcentric is setup in Step 3 using the wizard.
Enter the following information to Voicent App, SIP Screen. To get here open the Voicent App, then travel to Setup > Options > SIP.
Make sure to put your SIP ID and username in the correct fields. Also note, the username is the SIP ID, not your CallCentric login name.
Display Name: Your name
SIP ID/User ID: Enter your SIP ID
Domain: callcentric.com
Authorization User: Enter your SIP ID
Password: Enter your CallCentric password

Step 4: Setup STUN Server
Close the SIP account dialog window. Directly below the SIP Account Box you should see a NAT (for firewall traversal) section. Enter the STUN server name, type stun.counterpath.net, which is a public stun server. You could also use servers provided by your VoIP service provider.
Step 5: Account Setup
For inbound applications, please make sure you do the following. From within the add SIP Account window, click Advanced…. You can see this in the image below.

Now select use local IP address and then click Ok.

Share This Post: