
IVR Tutorial Lesson 5: Set Audio Message
We cannot use the recorded audio file in the outbound IVR application since that file is generated dynamically by the inbound IVR application.
To solve this, the inbound IVR application can save the recorded audio to a fixed file, such as C:\Call List\recorded_message.wav. This fixed file name can be used in the outbound IVR application. However, we need to be careful with the actual location for the recorded audio file. All local audio files are submitted to Voicent Gateway when an IVR application is deployed. The deployed IVR application will not refer to the original audio files but instead will refer to the deployed audio files. We will see this in a later section. But for now, we assume the recorded audio file is located at: C:\Call List\recorded_message.wav.
In this lesson, both inbound IVR and outbound IVR applications are on the same computer. They will share the same Voicent Gateway. In lesson 6, we'll present a solution for two Voicent Gateways on two computers, one for incoming calls and one for outbound calls.
Create Audio File Placeholder
Copy the following: to the folder . Then rename it .
Set Prompt For the Home Element
Select the element, click the button on the program toolbar, select the tab. Click the button. Create a TTS item with text . Click to save. Click the button again. From the window, select the button. Then select . This variable refers to the Name column in the BroadcastByPhone spreadsheet.
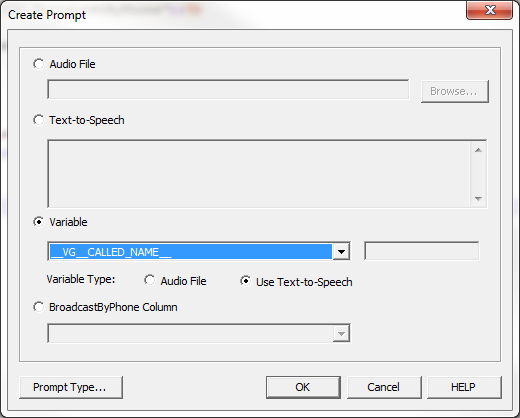
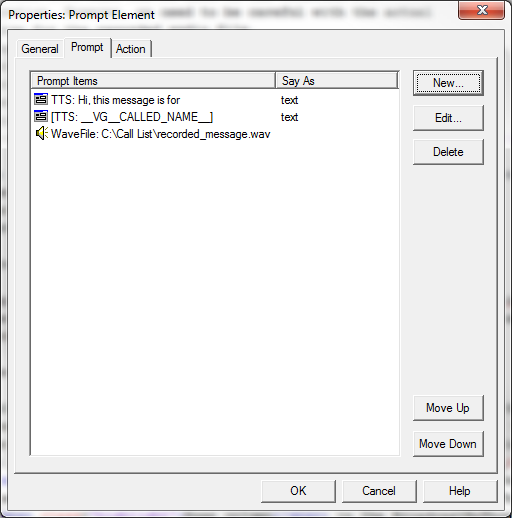
Click the button again. Select the radio button, and enter . Click to save. The finished prompt is shown below:
Set Prompt for Other Elements
Select the and elements. Use as the prompt item.